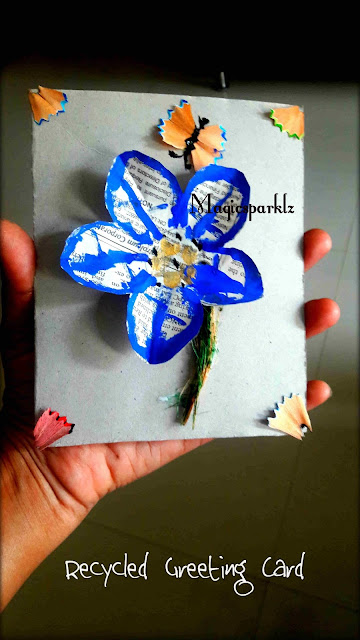
We made this greeting card with recyclable materials for my son's school project.
Things you'll need:
- The supporting cardboard that comes with new shirt
- News paper
- Coconut husk
- Pencil shavings
- Paint
- Glue
- Scissors
Shall we get started??
1) Cut the cardboard in a rectangle shape of 4.75''wide and 7" long. Mark the centre and fold the card.
2) Draw a shape of a flower on and newspaper and then cut it. You can either do free hand drawing or use stencil. As this is a kid's project, I asked my son to draw by himself and cut it using kid's scissors.
3) Ask your kidddo colour the outline of the flower and also colour the pollen in the middle.
4) Mark the portion where you need to stick the flower by giving enough space for butterfly and stem. Pour 2 drops of glue and stick the backside of pollen portion. Do not stick entire flower since we will lose that 3D effect.
5) Leave it to dry for few minutes, meanwhile ask your kiddo to colour coconut husk with green colour and leave it to dry.
6) Let your kiddo stick the pencil shavings on the corner of the card as a decoration.
7) Draw a butterfly with pencil and ask your kiddo to stick the wings using pencil shavings. Now fill the body portion of butterfly also the tentacles with a black colour. Your little one can use crayons or sketch or paint according to his/her age.
8) Now stick the stem in curved pattern also fold the edges of the flower and leave it to make the flower protrude from the card.
Few more additions:
1) You can chop leaves in newspaper and ask your kiddo to colour it and stick it.
2) Still more decorations can be added by sticking few glittery stones, or sticking washi tape on edges, or using satin ribbon, etc.


No comments:
Post a Comment